Audio Treatment for Home Studios: How to Kill Echo in Course Videos
 May, 25 2026
Nothing kills credibility faster than muddy, echoing audio. You might have a crisp 4K camera and perfect lighting, but if your voice sounds like it’s bouncing off the walls of a cathedral, viewers will click away within seconds. For online course creators, clear audio isn’t just a nice-to-have; it is the foundation of trust. When students can’t hear you clearly, they assume the content isn’t worth their time.
The good news? You don’t need a professional recording booth or thousands of dollars to fix this. Most home studios suffer from the same acoustic problems, and most of them can be solved with simple, affordable treatments. The goal here isn’t to make the room completely silent-that’s nearly impossible-but to control how sound behaves inside it so your voice comes through clean and direct.
Understanding Why Your Room Sounds Bad
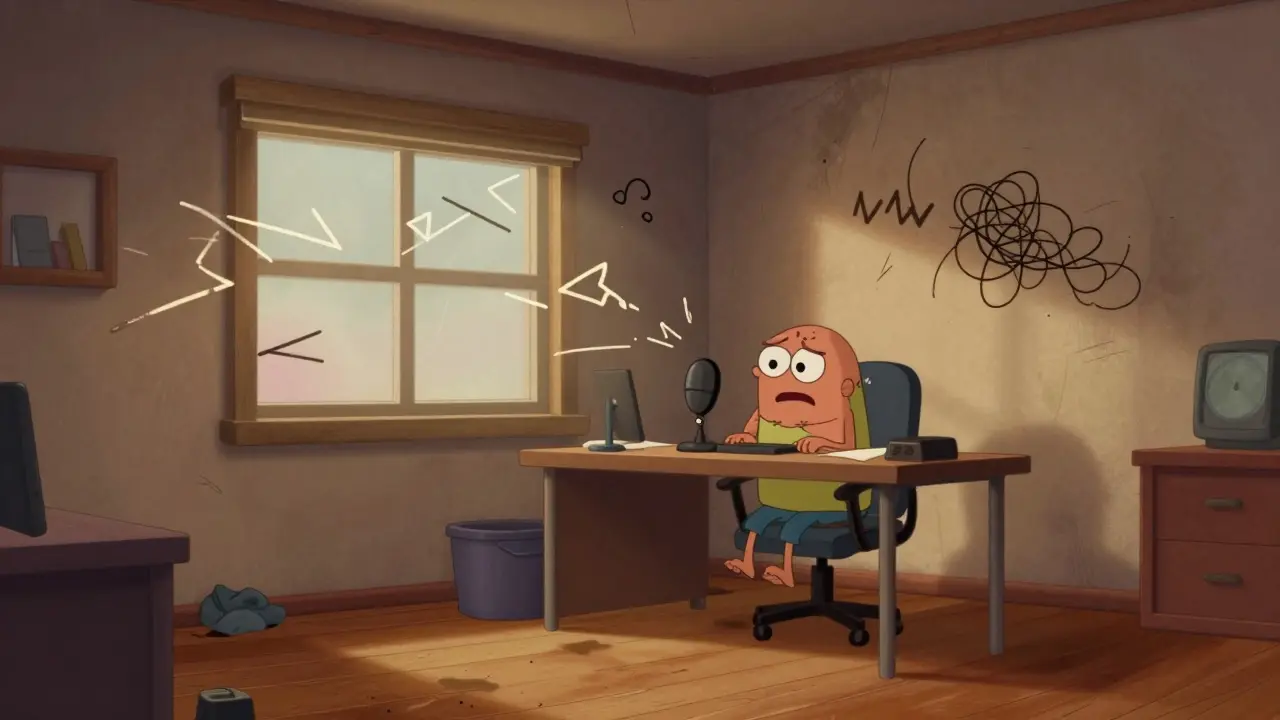
Before buying anything, you need to understand what you are fighting against. In an untreated room, sound waves travel from your microphone to the hard surfaces around you-walls, windows, floors, and ceilings-and bounce back. These reflections arrive at your mic milliseconds after the direct sound, creating a smear of noise known as reverb, which is the persistence of sound after the source has stopped. This reverb mixes with your voice, making consonants like 's', 't', and 'k' sound soft and indistinct.
It is crucial to distinguish between two concepts that people often confuse: absorption and isolation. Absorption reduces echoes by soaking up sound energy within the room. Isolation prevents sound from entering or leaving the room entirely. For course videos, you primarily need absorption. You want to stop the sound from bouncing back into your mic. Isolation requires heavy construction, decoupling walls, and sealing gaps, which is usually overkill for a solo instructor talking into a USB microphone.
Think of your room like a bathtub. If the drain is clogged (hard surfaces), water (sound) piles up and spills over. Acoustic treatment opens the drain, letting the excess sound energy dissipate as heat rather than reflecting back at you.
The Budget-Friendly DIY Approach
You can start improving your audio quality today without spending a dime. Look around your immediate recording space. Are there bare walls? A large window? A hardwood floor? These are your enemies. They reflect high-frequency sounds, which carry most of the intelligibility of speech.
- Move furniture strategically: Place a bookshelf filled with books behind you or next to you. Books are irregular shapes that scatter sound, breaking up flat reflections. Avoid placing empty shelves, as they can create standing waves.
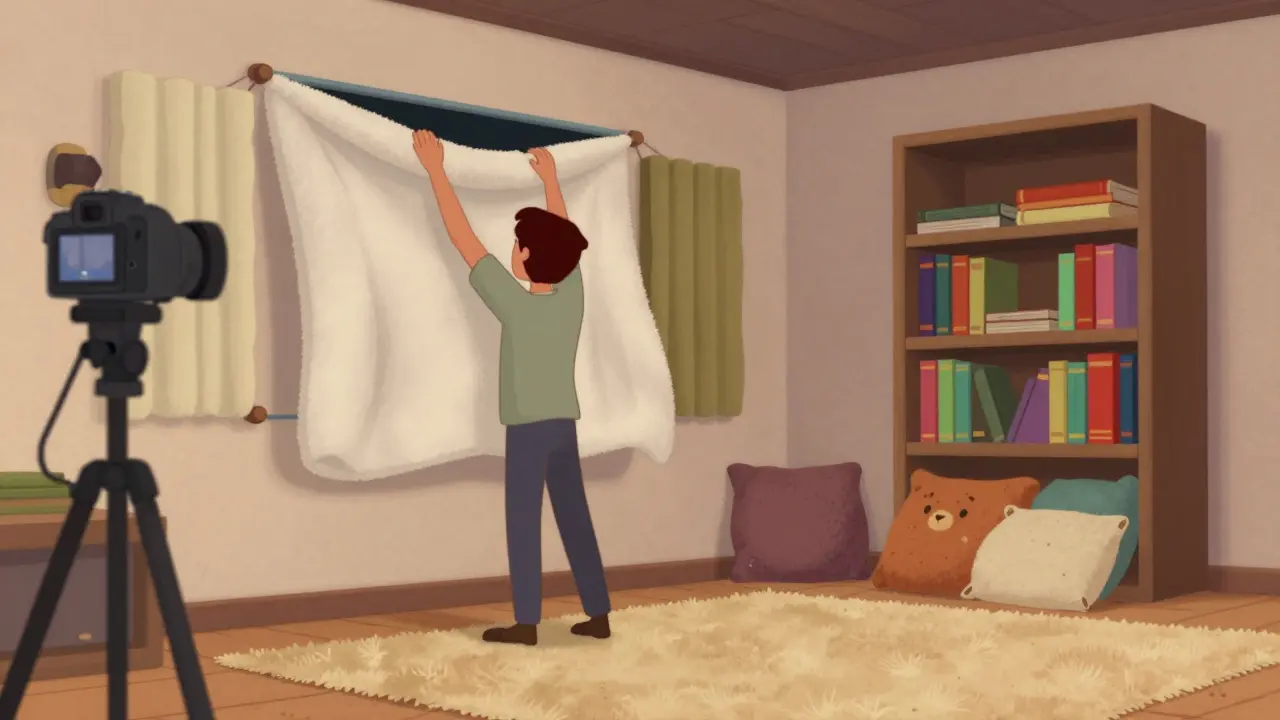
- Use heavy textiles: Hang a thick moving blanket or a heavy quilt on the wall directly behind your camera. This acts as a makeshift bass trap and absorber. Make sure it doesn’t touch the wall; air gap increases effectiveness.
- Rug it up: If you are on a hard floor, place a thick rug under your chair and extend it outward. This stops floor reflections from bouncing up into your microphone.
- Close the curtains: Windows are notoriously reflective. Keep them closed during recording to dampen high frequencies.
These tricks won’t give you studio-perfect audio, but they will remove the worst of the slap-back echo. It is a quick win that proves the concept: adding soft, porous materials changes the sonic character of the room immediately.
Essential Gear for Serious Improvement
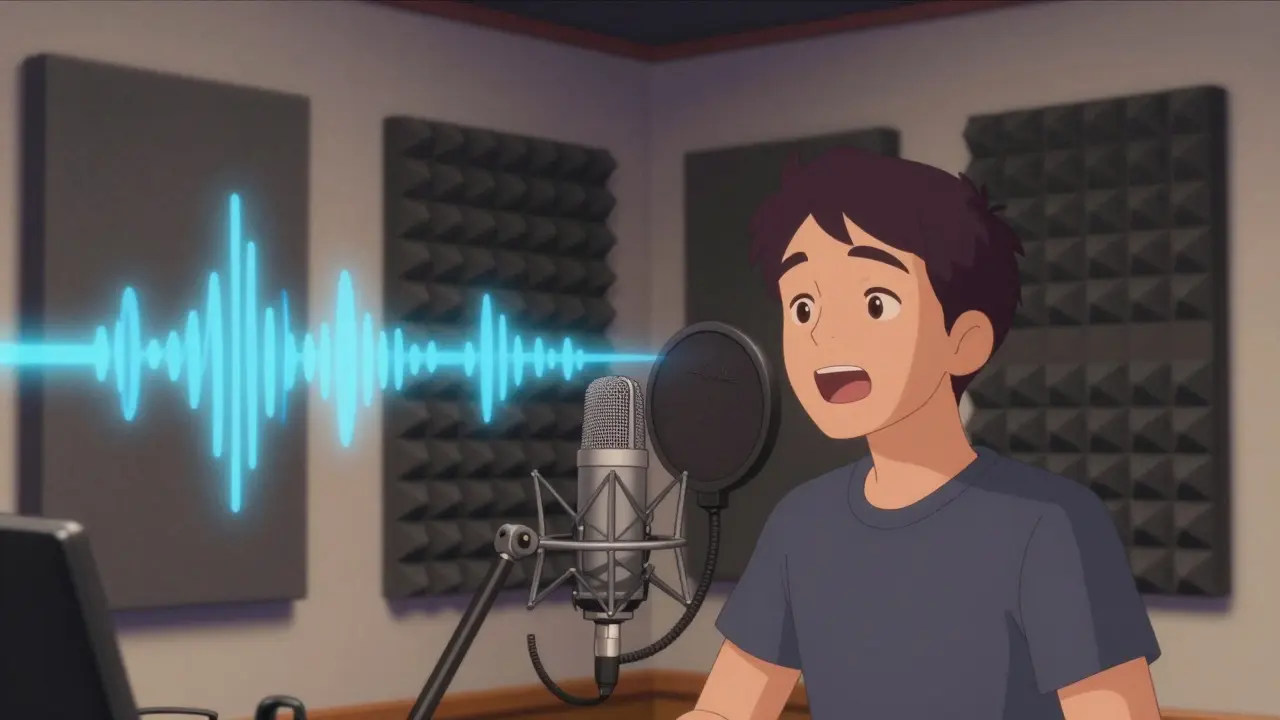
If you are committed to producing high-quality courses regularly, investing in proper acoustic panels makes sense. Unlike egg cartons-which actually do nothing useful and are a fire hazard-professional foam or fiberglass panels are designed to absorb specific frequency ranges.
| Treatment Type | Best For | Frequency Target | Approximate Cost |
|---|---|---|---|
| Foam Panels (Wedge) | High frequencies, initial reflections | 1kHz - 8kHz | $5 - $10 per panel |
| Fiberglass/Rockwool Panels | Broad spectrum absorption, professional look | 200Hz - 10kHz | $20 - $40 per panel |
| Bass Traps | Corners, low-end rumble | 40Hz - 200Hz | $30 - $60 per unit |
| Immediate mic vicinity | Mid-high frequencies | $30 - $60 |
Acoustic foam is a porous material used to absorb sound waves and reduce reverberation. It is lightweight and easy to install with adhesive strips. However, thin foam only absorbs high frequencies. To get deeper, richer absorption, look for panels made from rigid fiberglass or mineral wool wrapped in breathable fabric. These are denser and tackle mid-range frequencies where human speech lives.
A reflection filter is a circular screen placed between the speaker and the microphone to block early reflections. This is a game-changer for small spaces. You mount it on your mic stand, right behind the mic. It blocks sound from hitting the wall directly behind you and bouncing back. It is cheap, portable, and incredibly effective for podcasters and course creators who record in corners.
Where to Place Your Panels
Buying panels is useless if you put them in the wrong spots. Sound follows the path of least resistance. You need to target the "first reflection points." These are the spots on the wall where sound leaves your mouth, hits the wall, and bounces directly into your microphone.
To find these points, ask a friend to hold a mirror against the wall while you sit in your recording position. Move the mirror along the wall until you can see the head of your microphone in the reflection. Mark that spot. That is a first reflection point. Place an acoustic panel there. Do this for the left wall, right wall, and even the ceiling if it is low and hard.
Don’t forget the corners. Low-frequency sound waves build up in corners because the walls push the air together. This creates a boomy, muddy sound. Placing tall bass traps, which are acoustic devices designed to absorb low-frequency sound waves, in the vertical corners of your room tightens up the bottom end of your voice. It removes that hollow, underwater feeling.
Also, treat the wall behind you. Even if you aren’t facing it, sound radiates from your body in all directions. A panel behind you prevents that rearward energy from reflecting forward into your mic.
Microphone Technique Matters Just as Much
You can have the best-treated room in the world, but bad mic technique will ruin your audio. Distance is your biggest lever. The closer your mouth is to the microphone, the more direct sound you capture relative to the reflected sound. This is called the proximity effect, and it boosts bass response while minimizing room noise.
Try to stay within 6 to 8 inches of your microphone. Use a pop filter to protect the diaphragm from plosives (hard P and B sounds). Angle the microphone slightly off-axis if you are prone to spraying saliva. Consistency is key. If you move around too much, the volume and tone will fluctuate, forcing you to spend hours leveling audio in post-production.
Consider the directionality of your mic. Cardioid microphones pick up sound from the front and reject sound from the rear. Point the null zone (the back of the mic) toward the noisiest part of the room, like a computer fan or a window. This simple adjustment can cut background noise significantly without any physical treatment.
Post-Production Fixes
Treatment is always better than correction, but sometimes you still need help. Modern editing software offers powerful tools to clean up audio. Noise reduction plugins can remove constant hums from AC units or computers. De-reverberation plugins attempt to mathematically subtract the tail of the echo, though they can sometimes make your voice sound robotic if pushed too hard.
Compression is your best friend for course videos. It evens out the volume differences between your quiet whispers and loud exclamations. This ensures that every word is audible without the viewer having to adjust their volume constantly. Aim for a gentle compression ratio of 2:1 or 3:1. Over-compressing introduces distortion and fatigue.
EQ (Equalization) can also help. Cutting low frequencies below 80Hz removes rumble. A slight boost around 2-5kHz can add presence and clarity to your voice, helping it cut through any remaining muddiness. But remember: EQ cannot fix a terrible room. It can only polish what you already recorded.
Common Mistakes to Avoid
Many creators fall into the trap of treating the wrong things. Egg cartons glued to walls are a classic error. They scatter sound chaotically but do not absorb it effectively, and they pose a significant fire risk. Stick to materials designed for acoustics.
Another mistake is overtreatment. You don’t need to cover every square inch of your room. That creates a dead, unnatural sound that feels claustrophobic. Aim for balance. You want some liveliness in the room, just not chaotic echo. Start with the critical points: first reflections and corners. Add more only if necessary.
Finally, ignore the ceiling if it is low. In many home offices, the ceiling is just 8 feet above. Sound travels straight up and bounces straight down. Hanging a panel or even a thick blanket from the ceiling directly above your mic can make a surprising difference.
Can I use egg cartons to soundproof my room?
No, egg cartons are ineffective for absorbing sound and are a fire hazard. They provide minimal acoustic benefit and should be avoided. Use proper acoustic foam or fiberglass panels instead.
How many acoustic panels do I need?
Start with four to six panels. Place them at the first reflection points on the side walls and one behind you. Add bass traps to the corners if your voice sounds boomy. You can always add more later based on how the room sounds.
Does moving my microphone help reduce echo?
Yes. Moving your microphone closer to your mouth (6-8 inches) increases the ratio of direct sound to reflected sound. Also, angling the mic away from reflective surfaces helps minimize early reflections entering the capsule.
What is the difference between soundproofing and acoustic treatment?
Soundproofing stops sound from entering or leaving a room, requiring mass and sealing. Acoustic treatment improves the sound quality inside the room by reducing echoes and reverberation. For course videos, treatment is usually sufficient.
Can software fix bad room acoustics?
Software can mitigate minor issues, but it cannot fully fix a highly reverberant room. Heavy processing often results in artificial-sounding voices. Physical treatment is always the superior solution for professional results.
kelvin kind
May 26, 2026 AT 06:30Great breakdown on the mirror trick for finding first reflection points. I never thought about using a mirror, but it makes total sense.
Kenny Stockman
May 27, 2026 AT 13:20I second that! The mirror method is so simple yet effective. Also, don't sleep on the rug under your chair. It stops those floor reflections from bouncing up into your mic, which is huge for clarity.
Ananya Sharma
May 29, 2026 AT 08:23It is truly disheartening to see people perpetuating the myth that acoustic foam solves everything when in reality, unless you have a professionally engineered room with mass-loaded vinyl and decoupled walls, you are merely masking the symptoms of poor architectural design rather than addressing the root cause of sound propagation issues, which leads to a false sense of security among amateur content creators who then produce subpar audio while believing they have achieved professional standards due to their reliance on superficial treatments that do little more than absorb high frequencies while leaving the problematic low-end resonances completely unchecked and muddy.
Ian Cassidy
May 30, 2026 AT 11:20The signal-to-noise ratio improves drastically when you just move closer to the capsule. Proximity effect is real.
Zach Beggs
May 31, 2026 AT 05:05I tried the moving blanket hack last week and it actually made a noticeable difference in my home office. Thanks for sharing this guide!
Antonio Hunter
June 1, 2026 AT 09:50While many enthusiasts rush to purchase expensive fiberglass panels immediately upon encountering audio quality issues, it is often far more beneficial to take a step back and thoroughly assess the existing acoustic environment within one's recording space, as strategic placement of soft furnishings such as heavy curtains, bookshelves filled with irregularly shaped books, and thick area rugs can significantly mitigate early reflections and reduce reverberation times without requiring any financial investment whatsoever, thereby allowing creators to achieve a substantial improvement in vocal clarity and intelligibility before considering the acquisition of specialized acoustic treatment materials which should only be viewed as a supplementary measure rather than a primary solution for most home studio setups.
Paritosh Bhagat
June 1, 2026 AT 19:32Oh my goodness, I cannot believe how many people still think egg cartons work for soundproofing!! 😱 It is literally a fire hazard and does absolutely nothing for bass frequencies!!! You need to stop being lazy and buy proper Rockwool panels if you want to respect your audience's ears!!! 🙄🔥
Ben De Keersmaecker
June 2, 2026 AT 18:32I find the distinction between absorption and isolation particularly fascinating. Most hobbyists conflate the two, leading to frustration when their neighbors complain about noise despite having covered their walls in foam. Understanding that isolation requires mass and sealing, whereas treatment requires porosity and density, changes the entire approach to studio design.
Aaron Elliott
June 4, 2026 AT 14:13One must consider the philosophical implications of acoustic perfection. Is the goal truly silence, or is it merely the absence of distraction? Perhaps the echo serves as a reminder of our physical presence in a digital void, grounding us in reality even as we project ourselves into the ether of online education. To strip away all reverb is to strip away the humanity of the voice, rendering it sterile and devoid of context.
Chris Heffron
June 5, 2026 AT 09:52Just a small grammar note: 'reverb' is short for reverberation, not reversion. :) Otherwise, solid advice on the bass traps in corners.
Adrienne Temple
June 6, 2026 AT 15:59I love how easy these tips are to follow! 😊 I’m going to try hanging a quilt behind my desk tonight. Does anyone know if a regular comforter works too?
Sandy Dog
June 6, 2026 AT 16:09I literally screamed when I read that egg cartons are a fire hazard because I had them all over my wall for three years!!! 😭😭 My poor voice sounded like I was speaking from inside a tin can and I didn't even know why!!! This post saved my life and my sanity!!! Thank you thank you thank you!!! 🙏✨