Illustration Techniques and Styles: A Complete Course Module Breakdown
 Jul, 11 2026
You stare at a blank canvas. The cursor blinks. You know you want to draw something that pops, but do you start with loose sketching? Do you jump straight into vector shapes? Or maybe you’re wondering why your colors look muddy compared to the polished work you see on social media. This confusion is normal. Most aspiring illustrators learn tools before they learn illustration techniques. Without a structured approach, you end up with a fragmented skill set-a bit of Photoshop here, some watercolor theory there-but no cohesive style.
A well-designed course module breaks this down. It doesn’t just teach you how to use a brush tool; it teaches you how to think like an artist. Whether you are building a curriculum for students or trying to structure your own self-study path, understanding the anatomy of these modules is key. Let’s look at what actually goes into a professional-grade illustration course.
The Foundation: Core Principles Before Pixels
Before anyone touches a tablet or downloads Procreate, they need to understand the basics. In any serious design course, the first module is almost always about observation and fundamental theory. This isn’t boring lecture stuff; it’s the difference between drawing a stick figure and drawing a character with weight and presence.
This stage focuses on three main pillars:
- Composition and Layout: How do you guide the viewer’s eye? Students learn the rule of thirds, leading lines, and visual hierarchy. If the composition fails, the best color palette in the world won’t save the piece.
- Anatomy and Perspective: You don’t need to be a medical illustrator, but you need to know where joints bend and how objects recede in space. Modules here often use mannequinization techniques-breaking complex forms into simple boxes and cylinders.
- Color Theory: Beyond just picking pretty hues, this covers contrast, temperature, and harmony. Understanding complementary colors helps create depth, while analogous palettes create mood.
If you skip this, you’ll hit a wall later. I’ve seen many talented artists struggle because they tried to master digital rendering without understanding how light hits a sphere. Start slow. Master the fundamentals on paper if you have to.
Digital vs. Traditional: Choosing Your Medium
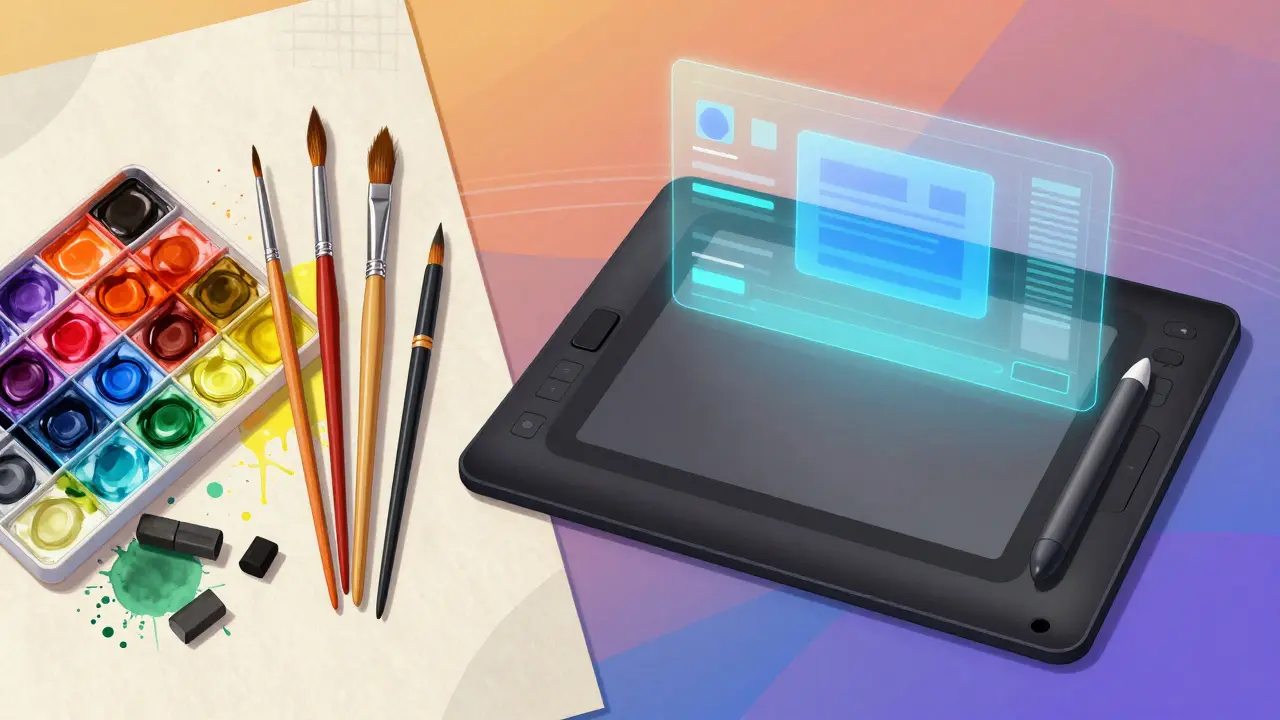
Once the basics are down, the course splits. Some modules focus on traditional media, while others dive into the digital realm. Knowing which one to prioritize depends on your career goals. Are you aiming for editorial print work? Maybe oil paints are your friend. Want to break into game development? You need to master vectors and raster graphics.
| Medium Type | Key Tools | Best For | Learning Curve |
|---|---|---|---|
| Traditional Media | Watercolors, Gouache, Charcoal | Tactile texture, fine art prints, editorial | High (messy, unforgiving) |
| Vector Graphics | Adobe Illustrator, Affinity Designer | Logos, icons, scalable assets, clean lines | Medium (requires precision) |
| Raster Digital Painting | Procreate, Photoshop, Clip Studio Paint | Concept art, book illustrations, photorealism | Low to Medium (intuitive brushes) |
In a comprehensive curriculum, you usually spend more time on digital painting because it offers the most versatility for modern freelance work. However, learning traditional techniques first can actually make you better digitally. When you understand how watercolor bleeds, you can mimic that effect in Photoshop much more convincingly than someone who has only ever used a digital brush.
Defining Style: From Mimicry to Voice
Here is the tricky part. Every student wants a "style." They ask, "How do I find my unique voice?" The truth is, style is not something you choose; it’s something that emerges from your choices. A good course module addresses this by forcing experimentation.
Rather than telling students to "be creative," effective modules assign specific stylistic constraints. For example:
- Minimalist Line Art: Create an illustration using only black lines on a white background. No shading. This forces you to rely on contour and negative space.
- Flat Design: Illustrate a scene using solid blocks of color with no gradients. This teaches you to define form through color value alone.
- Texture Overlay: Take a flat digital painting and apply scanned textures of old paper or concrete. This bridges the gap between digital cleanliness and organic grit.
By rotating through these exercises, students discover what feels natural to them. Maybe you hate line art but love blending colors. That’s data. Use it. Your style is just your consistent preferences applied over time.
Technical Mastery: Software Specifics
Let’s get practical. You can have great ideas, but if you don’t know how to use the software, those ideas stay in your head. Course modules dedicated to technical skills should go beyond basic tutorials. They need to cover workflow efficiency.
For instance, when teaching Adobe Photoshop, don’t just show how to paint. Show how to organize layers. Show how to use clipping masks to keep edits non-destructive. Teach keyboard shortcuts that save hours. In Procreate, focus on gesture controls and layer blending modes. These technical details separate amateurs from professionals who can meet tight deadlines.
Another critical technical skill is file management. Learning the difference between CMYK (for print) and RGB (for screen) is vital. A common mistake beginners make is designing a vibrant poster in RGB, only to have the colors look dull when printed because they didn’t convert the color profile. A solid module includes a section on export settings, resolution (DPI/PPI), and format types (PNG, JPG, SVG).
Visual Storytelling and Concept Development
Technique means nothing if the image doesn’t communicate. This is where illustration becomes narrative. Modules on storytelling teach you how to convey emotion, context, and plot within a single frame.
Consider a project brief: "Draw a lonely astronaut." A novice might draw an astronaut standing next to a sad face icon. A trained illustrator draws the astronaut looking out a window at a distant, unreachable planet, with their reflection showing fatigue. The story is in the environment, the lighting, and the body language.
Courses often include case studies from famous illustrators. Analyzing how Arthur Rackham used intricate linework to create eerie fairy tales, or how Moebius used vast landscapes to evoke isolation, gives students a vocabulary of visual cues. You learn that low-angle shots make characters look powerful, while high-angle shots make them look vulnerable.

Building a Portfolio and Professional Practice
The final module of any robust illustration course is rarely about drawing. It’s about business. You need to present your work in a way that gets you hired. This involves curating a portfolio that shows range but also consistency.
Students learn to select their best ten pieces rather than dumping fifty mediocre ones. They learn to write project descriptions that explain the problem they solved, not just the tools they used. Did you illustrate a children’s book? Explain how your character designs appealed to the target age group. Did you create UI icons? Explain how your clarity improved user experience.
Additionally, this module covers pricing, contracts, and client communication. How do you handle revision requests? What is a kill fee? These are the unglamorous parts of the job that determine whether you survive as a freelancer. Ignoring them leads to burnout and underpayment.
Common Pitfalls in Self-Taught Learning
If you are skipping formal courses and teaching yourself, watch out for these traps:
- Tutorial Hell: Watching endless YouTube videos without doing the actual work. You feel productive, but you aren’t creating original art. Set a timer. Watch for 15 minutes, then draw for 45.
- Brush Obsession: Downloading hundreds of custom brushes hoping one will fix your bad drawings. It won’t. A default round brush can create masterpieces if your fundamentals are strong.
- Lack of Critique: Posting work only to friends who say "nice!" Seek harsh feedback. Join communities where people critique composition and color objectively.
Structured modules force you to avoid these pitfalls by setting clear milestones. They provide accountability. Even if you are self-taught, try to follow a syllabus from a reputable online platform to keep yourself on track.
How long does it take to learn illustration techniques?
It varies widely based on practice intensity. With daily dedicated practice of 2-3 hours, you can develop competent foundational skills in 6 months. Mastering a specific style and achieving professional proficiency typically takes 1-2 years of consistent work and portfolio building.
Do I need a drawing tablet to start digital illustration?
Yes, for serious digital illustration, a pressure-sensitive tablet is essential. While mouse-based vector work is possible for graphic design, freehand digital painting requires the nuance of pen pressure to control line weight and opacity. Entry-level tablets from brands like Wacom or Huion are affordable starting points.
Which illustration style is most in demand in 2026?
Currently, versatile styles that blend hand-drawn aesthetics with clean digital execution are highly sought after. Flat design with subtle textures remains popular for tech and corporate clients, while detailed, expressive character illustration is booming in gaming and publishing. Adaptability is more valuable than sticking to one niche.
Is it better to learn traditional or digital illustration first?
Starting with traditional media builds stronger observational skills and an intuitive understanding of light and color without software distractions. However, if your goal is immediate employability in digital industries, starting with digital tools like Procreate or Photoshop may be more efficient. Many successful artists combine both.
How do I price my illustration services?
Pricing depends on usage rights, complexity, and deadline. A common method is to calculate an hourly rate multiplied by estimated hours, then add a markup for commercial licensing. Always specify in your contract what the client can and cannot do with the artwork. Never undervalue your work; fair pricing ensures sustainable business practices.