Podcast Production for Creators: Scripting, Recording, and Mixing
 Nov, 12 2026
You hit record. The red light blinks. You speak into the mic, but when you play it back, your voice sounds thin, echoey, or buried under a hum that wasn't there before. Sound familiar? Most new podcasters think the hard part is coming up with topics. It’s not. The real hurdle is making your audio sound professional enough that people don’t skip your episode after thirty seconds.
Podcast production is the end-to-end process of creating high-quality audio content, covering pre-production planning, recording techniques, and post-production editing. Unlike radio, where engineers handle everything behind the scenes, creators today wear every hat. You’re the writer, the engineer, and the editor. This guide breaks down exactly how to manage those three stages without needing a degree in audio engineering or a studio budget.
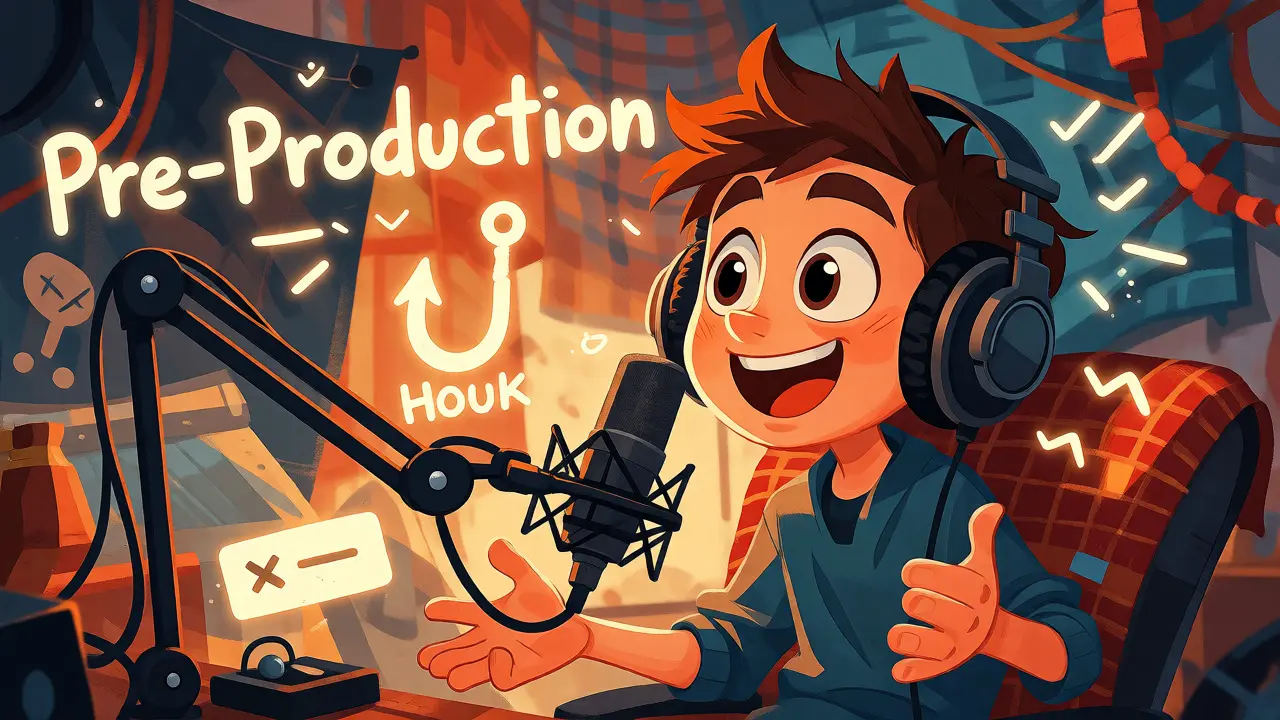
Pre-Production: Scripting That Sounds Natural
Here’s a controversial take: word-for-word scripts often make podcasts sound stiff. If you read every syllable, you lose the conversational vibe that keeps listeners engaged. But winging it leads to rambling episodes that need heavy cutting later. The sweet spot lies in structured bullet points.
Start with a clear outline. Define your core message first. What does the listener walk away knowing? Once you have that, break the episode into three segments: the hook, the meat, and the call to action. For each segment, write three to five bullet points. These are your anchors. They keep you on track while allowing room for spontaneous anecdotes or clarifications.
If you’re interviewing someone, avoid yes/no questions. Instead of asking "Did you like working at Apple?", try "What surprised you most about the culture at Apple?" Prepare follow-up prompts based on likely answers. This preparation reduces dead air and keeps the energy high during the actual recording.
- The Hook: Grab attention in the first 60 seconds. State the problem you’re solving.
- The Meat: Deliver value through stories, data, or actionable steps.
- The CTA: Tell them exactly what to do next (subscribe, visit a link, share).
Recording: Capturing Clean Audio at Home
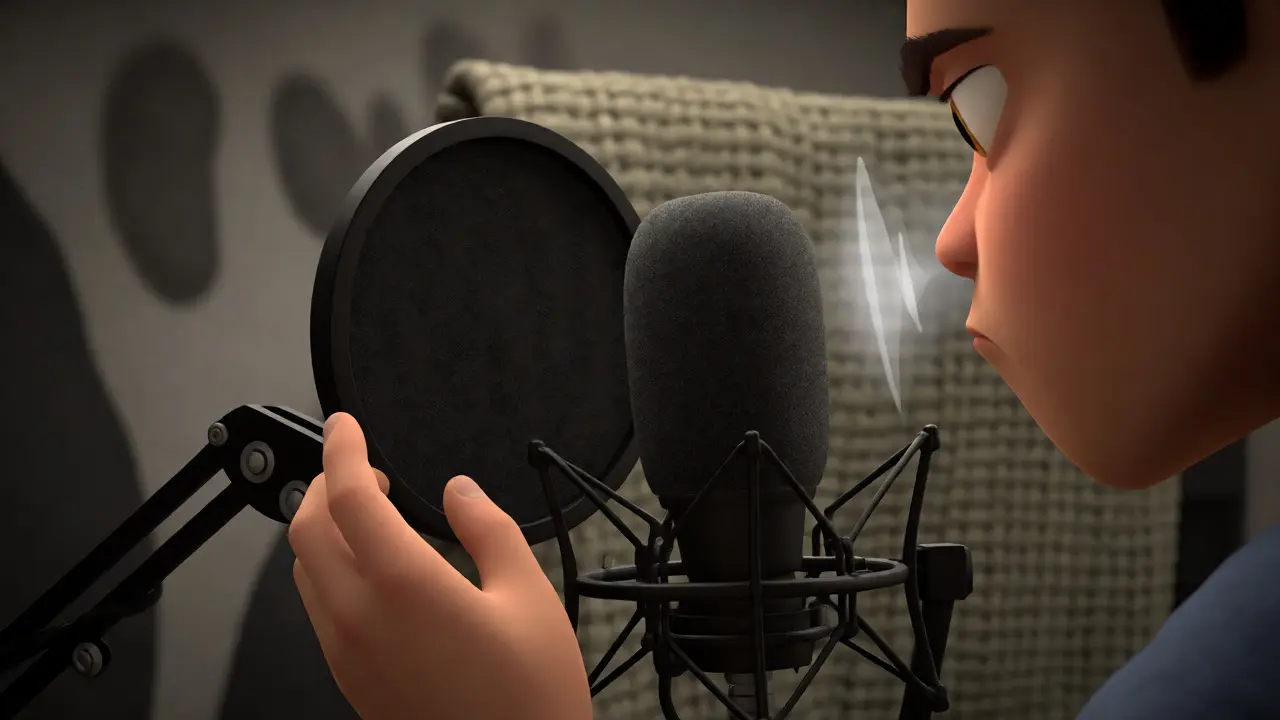
Your microphone matters, but your room matters more. You can buy a $1,000 mic, but if you record in an empty kitchen with tile floors, you’ll capture a boxy reverb that ruins the listenability. Audio recording refers to the technical process of capturing sound waves as digital signals, heavily influenced by acoustic environment and hardware selection. The goal is isolation-getting your voice clean and separating it from background noise.
You don’t need foam panels everywhere. A closet full of clothes works wonders. Hanging a blanket behind your mic absorbs early reflections. Sit close to the microphone-about four to six inches away. This leverages the proximity effect, which adds warmth and bass to your voice, making it sound richer and more intimate.
Hardware choices depend on your budget, but here’s the baseline for 2026:
| Component | Budget Tier ($50-$100) | Prosumer Tier ($150-$300) | Why It Matters |
|---|---|---|---|
| Mic Type | USB Dynamic (e.g., Samson Q2U) | XLR Dynamic (e.g., Shure SM7B + Interface) | Dynamics reject background noise better than condensers. |
| Headphones | Closed-Back Over-Ear | Studio Monitor Headphones | Prevents bleed from headphones into the mic. |
| Stand | Boom Arm | Heavy-Duty Boom Arm | Reduces desk vibrations and keyboard clatter. |
| Software | Audacity (Free) | Hindenburg Pro or Adobe Audition | Automated leveling saves hours of manual editing. |
Always record a backup. Use two mics if possible, or record locally on a separate device like a Zoom H5 recorder while also sending audio to your computer via USB. Digital connections fail; local files rarely do. Check levels before starting. Your peaks should hit around -6dB to -12dB. If they touch 0dB, you’ve clipped the audio, introducing distortion that no amount of editing can fully fix.
Editing: Cutting the Fluff Without Losing Flow
This is where the magic happens-and where most beginners quit. Editing isn’t just about removing mistakes; it’s about pacing. Listeners drop off when there are long pauses or repetitive phrases. Your job is to tighten the narrative.
Use non-destructive editing software. Tools like Descript allow you to edit audio by editing text, which speeds up the process significantly. Start with a rough cut: remove large silences, obvious stumbles, and off-topic tangents. Then, move to fine-tuning. Shorten breaths slightly so they feel natural but don’t drag. Remove filler words like "um," "uh," and "like" only if they distract. Some fillers add personality; too many sound unprofessional.
Watch out for "mouth noise." Dry mouths create clicking sounds. Keep water nearby, but sip carefully. In editing, use de-click plugins or manually zoom in to delete sharp transients caused by lip smacks. Consistency is key. Ensure volume levels match throughout the episode. Sudden jumps in loudness force listeners to adjust their volume constantly, which is annoying.
Mixing and Mastering: Polishing the Final Product
Once the cut is tight, it’s time to mix. Mixing balances different elements-voice, music, sound effects. Mastering ensures the file meets platform standards. Spotify and Apple Podcasts normalize loudness to specific LUFS (Loudness Units Full Scale) targets. Aim for -16 LUFS integrated loudness for stereo podcasts. This prevents your episode from sounding quieter than others.
Apply EQ (Equalization) gently. Roll off frequencies below 80Hz to remove rumble from HVAC systems or traffic. Boost presence around 3kHz-5kHz to enhance clarity and intelligibility. Cut muddy frequencies between 200Hz-400Hz if your voice sounds boomy. Compression evens out dynamic range. Set a threshold so louder parts get reduced slightly, bringing quiet parts closer in volume. This makes your voice sound consistent and powerful without shouting.
Add intro and outro music. Keep it low in the mix. Music should support, not compete. Duck the music automatically when you speak using sidechain compression, or manually lower the volume during speech segments. Export your final file as a WAV for archival purposes, then convert to MP3 (192kbps minimum) for distribution to save bandwidth for listeners.

Pitfalls to Avoid
Even experienced creators fall into traps. Here are common ones to sidestep:
- Over-processing: Too much reverb or chorus makes you sound like you’re in a bathroom. Keep effects minimal.
- Ignoring metadata: Proper ID3 tags help platforms categorize your show. Fill in title, artist, and genre correctly.
- Skipping proofing: Always listen to the final export on different devices-earbuds, car speakers, phone speaker. You’ll catch issues desktop monitors miss.
- Inconsistent branding: Changing intro music every week confuses listeners. Pick a sonic identity and stick with it.
Remember, perfection is the enemy of progress. Your first ten episodes will sound worse than your fiftieth. That’s normal. Focus on incremental improvements. Maybe this month you learn better compression settings. Next month, you upgrade your mic arm. Small wins compound over time.
Frequently Asked Questions
Do I need expensive equipment to start a podcast?
No. A decent USB microphone like the Samson Q2U or Audio-Technica ATR2100x costs under $100 and captures broadcast-quality audio. Invest in acoustic treatment (blankets, carpets) before upgrading gear. Good acoustics matter more than expensive hardware.
How long should a podcast episode be?
It depends on your content depth. Most successful shows range from 20 to 45 minutes. Shorter episodes (under 15 minutes) work well for news or quick tips. Longer formats suit deep dives or interviews. Prioritize value density over duration-if you can say it in 20 minutes, don’t stretch it to 40.
What is the best software for beginners?
Audacity is free and powerful for basic cuts and effects. For easier workflows, consider GarageBand (Mac) or Hindenburg Journalist, which automate leveling and cleanup. Descript offers text-based editing, ideal for those comfortable with writing tools rather than waveforms.
Should I hire an editor?
Not initially. Learning basic editing helps you understand pacing and structure. Once you’re publishing consistently and scaling up, outsourcing saves time. Editors typically charge per finished minute. Only hire one once your workflow is stable.
How do I reduce background noise?
First, control the source: turn off fans, AC units, and refrigerators. Second, treat the room with soft materials like curtains or rugs. Third, use noise reduction plugins in post-production sparingly. Aggressive noise removal can make voices sound robotic or underwater.