B-Roll and Visual Storytelling in Educational Course Videos
 Oct, 17 2026
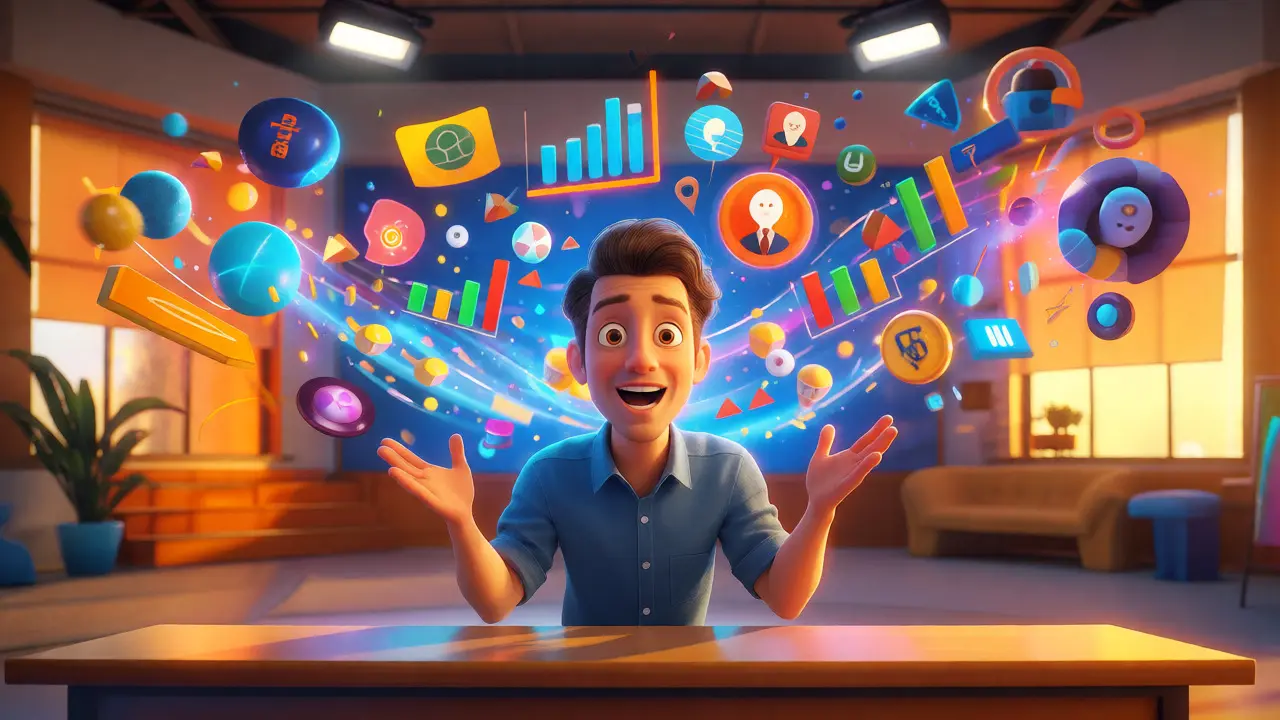
You know that feeling when you're watching a lecture online, the instructor is talking about something fascinating, but your eyes are glazing over because all you see is a static shot of their face? It happens to everyone. We've all been there, clicking away because the visual input isn't keeping up with the audio. This is where B-roll saves the day. It's not just fancy footage; it's the secret sauce that turns a boring slideshow into an engaging learning experience.
If you're creating courses, you already know content is king. But presentation? That's the kingdom's gatekeeper. You can have the best lesson on Python or project management, but if the visuals are dull, retention drops. Fast. Let's break down how to use B-roll and visual storytelling effectively so your students actually finish the modules they start.
Why Your Talking Head Isn't Enough
Here’s the hard truth: humans process visual information way faster than text or speech. When you only show a person talking, you’re asking the brain to work double-time-listening to words while trying to visualize abstract concepts. If the speaker doesn’t paint a clear picture verbally, the student has to do it themselves. And let’s be honest, most people are lazy learners. They want the answer served up, not constructed from scratch.
Visual storytelling bridges this gap. It aligns what the student sees with what they hear. When you talk about "scaling a business," showing a graph growing or a team expanding reinforces the concept instantly. This dual-coding theory suggests that combining verbal and visual channels enhances memory retention significantly. So, stop relying solely on your charisma. Start relying on your edit suite.
What Exactly Counts as B-Roll?
A lot of beginners think B-roll is just random stock footage of hands typing on keyboards or generic office scenes. While those have their place, effective B-roll in education is much more targeted. Think of A-roll as the spine of your video-the main narrative, usually the instructor speaking directly to the camera. B-roll is everything else layered on top to support, explain, or enhance that spine.
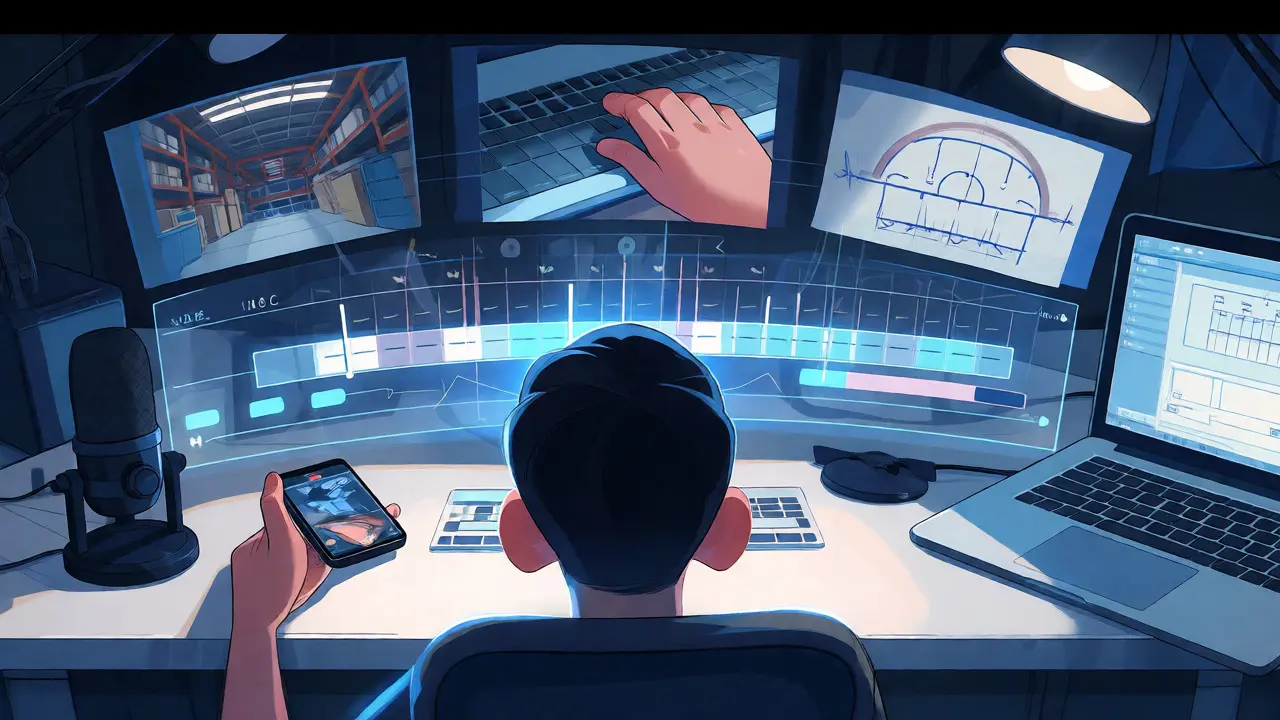
- Demonstrations: Screen recordings showing software clicks, code execution, or lab experiments.
- Contextual Footage: Real-world examples related to the topic. Teaching supply chain logistics? Show a warehouse. Teaching history? Show archival photos or reenactments.
- Text and Graphics: Animated bullet points, diagrams, or key terms appearing on screen.
- Cutaways: Shots of other people reacting, listening, or working, which breaks up the monotony of a single face.
The goal isn't to distract. It's to reinforce. Every second of B-roll should answer the question: "Does this help the student understand what I'm saying right now?" If the answer is no, cut it.
Types of B-Roll for Different Learning Styles
Not all courses need the same type of visuals. A coding tutorial looks very different from a leadership seminar. Here is how to match your B-roll strategy to your content type.
| Course Type | Primary B-Roll Strategy | Why It Works |
|---|---|---|
| Technical (Coding, Design) | Screen captures, cursor highlights, zoom-ins | Shows exact steps and syntax details clearly |
| Conceptual (Business, Psychology) | Metaphorical imagery, animated charts, icons | Visualizes abstract ideas and data trends |
| Procedural (Cooking, Repair) | Close-ups of hands/tools, time-lapses | Focuses on physical actions and timing |
| Narrative (History, Case Studies) | Archival footage, maps, interviews | Provides context and emotional connection |
For technical courses, clarity is king. Use screen recording tools like OBS Studio or Camtasia. Make sure your mouse movements are smooth and your font size is readable on mobile devices. For conceptual courses, you might lean on platforms like Storyblocks or Envato Elements for high-quality stock clips that metaphorically represent growth, conflict, or innovation.

The Art of Timing and Pacing
Bad B-roll usage is worse than no B-roll at all. If you cut away too frequently, you create visual noise. If you hold a clip too long, you lose attention. The sweet spot? Change the visual every 3 to 5 seconds during active explanation phases.
Think about rhythm. When you make a key point, slow down. Hold the shot. Let the graphic sit on screen long enough to be read. When you're transitioning between topics, speed up the cuts to build energy. This pacing keeps the viewer's brain engaged without overwhelming it.
Also, consider the audio-visual sync. If you say, "Click here," the cursor should click exactly when you say it. If you mention "three benefits," three icons should pop up sequentially. This precise synchronization builds trust. Students feel like the material is tailored specifically for them, rather than a generic video slapped together.
Sourcing B-Roll Without Breaking the Bank
You don't need a Hollywood budget. In fact, authenticity often beats polish in educational settings. Students connect with real environments, not sterile stock sets.
- DIY Filming: Grab your smartphone. Film yourself using the tool you're teaching. Film a colleague struggling then succeeding. These personal touches add credibility.
- Screen Recording: Free tools like Loom or built-in OS recorders are perfect for tech tutorials.
- Stock Libraries: Subscriptions like Artlist or Epidemic Sound offer vast libraries. Look for clips that match your color grading to keep consistency.
- Motion Graphics: Tools like Canva or After Effects templates can turn simple lists into engaging animations quickly.
Remember, quality matters more than quantity. One well-chosen clip that perfectly illustrates a complex idea is worth ten minutes of irrelevant b-roll. Always check licensing if you're using stock media, especially if you plan to sell your course commercially.
Common Mistakes to Avoid
We've seen plenty of course videos fail due to avoidable errors. Here are the big ones to watch out for.
Overloading the screen: Don't put text on screen that matches exactly what you're saying word-for-word. People read faster than you speak. If you display a paragraph, they'll stop listening to read it. Use keywords or short phrases instead.
Inconsistent style: Mixing cartoonish animations with serious documentary footage can look jarring. Pick a visual theme-color palette, font style, transition types-and stick to it throughout the module.
Ignoring accessibility: Ensure your B-roll doesn't hide subtitles. Also, avoid rapid flashing lights which can trigger seizures. Add alt-text descriptions for images if your platform supports it, helping visually impaired learners navigate the content.
Tools of the Trade
You don't need to master every piece of software. Choose one editor you're comfortable with and learn its shortcuts inside out. Speed in editing means more time focusing on pedagogy.
For beginners, CapCut or iMovie are surprisingly powerful for basic trimming and adding overlays. Intermediate creators might prefer Adobe Premiere Pro or Final Cut Pro for multi-track editing and advanced color correction. For screen-specific work, Snagit or TechSmith Camtasia offer built-in annotation features that save hours of post-production time.
Don't forget about AI-assisted tools. Platforms like Descript allow you to edit video by editing text, making it easier to remove filler words and tighten up pacing automatically. This can drastically reduce the time spent on rough cuts.
Measuring Success: Are Your Visuals Working?
How do you know if your B-roll strategy is paying off? Look at your analytics. Most learning management systems (LMS) provide heatmaps showing where students drop off. If you notice a spike in exits during a specific section, review that part of the video. Was the visual confusing? Did the pace drag?
Ask for feedback directly. Include a quick survey after a module: "Did the visuals help clarify the concept?" Simple questions yield actionable insights. Sometimes, a small tweak-like zooming in on a diagram-can boost comprehension scores noticeably.
Ultimately, great educational video isn't about looking cool. It's about reducing cognitive load. When the visuals carry some of the explanatory weight, the student's brain is free to focus on understanding and applying the knowledge. That's the power of smart B-roll.
What is the difference between A-roll and B-roll?
A-roll refers to the primary footage, typically the instructor speaking directly to the camera, which drives the narrative. B-roll is secondary footage used to cover cuts, illustrate points, or add visual interest. A-roll provides the audio backbone, while B-roll provides the visual context and reinforcement.
How much B-roll should I include in my course videos?
There is no fixed percentage, but a good rule of thumb is to change the visual every 3-5 seconds during explanations. However, ensure every clip serves a purpose. Overusing B-roll can distract from the core message. Focus on relevance rather than frequency.
Can I use stock footage for educational courses?
Yes, but choose carefully. Generic stock footage can feel impersonal. Try to find clips that closely match the specific context of your lesson. Alternatively, mix stock footage with custom screen recordings or filmed demonstrations to maintain authenticity and engagement.
Do I need expensive equipment to shoot good B-roll?
No. Modern smartphones shoot excellent 4K video. Good lighting and stable shots matter more than the camera brand. For screen-based courses, a decent microphone and screen recording software are more critical than a high-end camera.
How does B-roll improve student retention?
B-roll leverages dual-coding theory, where information is processed through both visual and auditory channels. This reduces cognitive load by providing visual cues for abstract concepts, making it easier for students to encode and recall information later.