Course Video Quality Checklist: Preflight Review Before Publishing
 Sep, 17 2026
You spent weeks recording your course video and hours editing it. You hit upload, feel proud, and then a student comments that the audio is muffled or the text on screen is unreadable. That sting hurts more than you’d expect. It’s not just about aesthetics; poor quality kills engagement faster than a boring topic ever could. Students forgive a dull subject if the delivery is crisp, but they rarely forgive bad audio or blurry visuals.
This guide walks you through a practical preflight review process for educational videos. We’re skipping the theoretical fluff. Instead, we focus on the specific technical and pedagogical checks that separate amateur uploads from professional learning assets. Whether you use Adobe Premiere Pro, DaVinci Resolve, or even mobile editors like CapCut, these steps ensure your content lands with impact.
Key Takeaways
- Audio is non-negotiable: Viewers tolerate low-resolution video, but they quit immediately if the audio is unclear or inconsistent.
- Check for platform compression: Always test how your file looks after the LMS (Learning Management System) compresses it, not just in your editor.
- Verify accessibility features: Captions must be accurate, not auto-generated errors, and contrast ratios need to meet WCAG AA standards.
- Watch at 100% zoom: Text overlays and UI elements often become illegible when viewed on smaller screens or mobile devices.
- End cards matter: Ensure links work and calls-to-action are clear before the final export.
The Audio Audit: Why Sound Beats Visuals
Let’s be real: people watch videos with their ears first. If your voice echoes, booms, or disappears behind background noise, students will close the tab. Start by listening to the entire track without looking at the screen. Close your eyes. Does the narration sound natural? Is there a hum from an air conditioner or a distant traffic rumble?
Use loudness normalization tools to ensure your audio hits standard levels. Most platforms prefer -14 LUFS (Loudness Units Full Scale) for integrated loudness. If your peaks spike above -3 dBTP (True Peak), you risk digital clipping, which sounds harsh and distorted. Check for consistency across multiple videos in a series. Nothing breaks immersion like switching from a quiet lecture to a shouting tutorial.
| Issue | Symptom | Fix |
|---|---|---|
| Clipping | Distorted, crackling sound at loud moments | Lower gain input; apply limiter at -3dB |
| Hiss/Noise Floor | Constant static when silent | Apply noise reduction plugin; record in quieter space |
| Inconsistent Volume | Speaker gets louder/softer randomly | Use compressor or normalize effect |
| Echo/Reverb | Room sounds large and hollow | Add acoustic treatment; move closer to mic |
Visual Clarity and Resolution Standards
Once the audio passes, switch to visual checks. Don’t just trust your high-end monitor. Export a sample clip and view it on a smartphone. This is where many creators fail. A 4K resolution file might look sharp on your 27-inch iMac, but if the font size is too small, it becomes a blur on a 6-inch phone screen.
Aim for a minimum of 1080p resolution for all course materials. While 4K is nice, most Learning Management Systems (like Canvas, Moodle, or Teachable) compress files heavily. Uploading a massive 4K file often results in blocky artifacts because the platform squeezes it down aggressively. Better to upload a well-bitrated 1080p file than a poorly compressed 4K one.
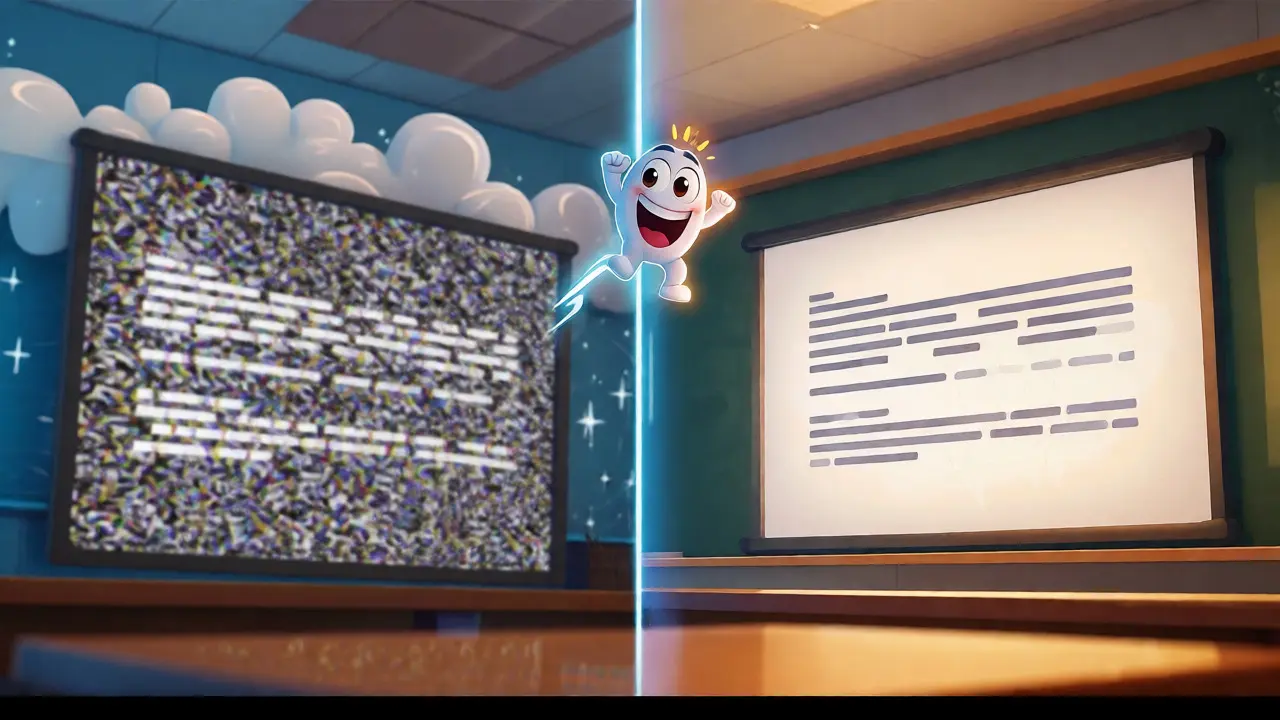
Check your color grading. Educational content should have neutral, consistent colors. Avoid extreme filters unless they serve a specific teaching purpose. If you’re showing code or diagrams, ensure the contrast between text and background is high. Black text on white backgrounds is safest. If you use dark mode slides, ensure the text isn’t too thin, as compression can make thin fonts disappear.
Pedagogical Flow and Pacing
Technical perfection means nothing if the lesson structure confuses students. Watch your video specifically looking for cognitive load issues. Are you talking while showing complex text? If so, slow down or split the segment. The brain struggles to read and listen simultaneously when both channels demand attention.
Look for "dead air." Did you pause for five seconds while thinking of the next sentence? Cut it. Tight pacing keeps energy up. However, don’t cut so fast that transitions feel jarring. Use jump cuts sparingly; excessive jumping creates a frenetic vibe that distracts from learning.
Verify your visual cues match your audio. If you say, "Click this button," does the cursor actually highlight it? If you point to a graph, is the pointer visible? These small synchronizations prevent student frustration. I once reviewed a coding tutorial where the instructor said "press Enter" three seconds before he actually pressed it. Small mismatch, big confusion.
Accessibility and Compliance Checks
Accessibility isn’t just a legal checkbox; it’s good pedagogy. Approximately 15% of the world’s population lives with some form of disability. For online courses, captions are mandatory for two reasons: compliance with laws like the ADA (Americans with Disabilities Act) and usability for non-native speakers or those studying in noisy environments.
Do not rely solely on auto-generated captions. AI transcription is getting better, but it still misses technical jargon, proper nouns, or accents. Manually review every caption line. Fix spelling errors and break long sentences into readable chunks. Sync timing is critical-captions should appear exactly when spoken, not lagging behind.
Check color contrast using a tool like WebAIM Contrast Checker. Your text overlays must have a contrast ratio of at least 4.5:1 against the background. This ensures readability for users with low vision. Also, avoid conveying information through color alone. If you use red/green indicators, add icons or labels so colorblind students aren’t left out.
File Optimization and Platform Specifics
Your master file is huge. Your published file needs to be lean. Different platforms handle encoding differently. YouTube uses VP9 codec, while many LMS platforms prefer H.264 MP4. Always check your specific platform’s recommended settings.
Bitrate is your friend here. Too low, and you get pixelation during motion. Too high, and you waste bandwidth and increase buffering times for students with slow internet. For 1080p at 30fps, aim for 8-12 Mbps bitrate. For 720p, 5-8 Mbps usually suffices. Test your upload speed too. If your internet is unstable, schedule uploads during off-peak hours to avoid corruption.
Metadata matters for searchability within your course library. Add relevant tags, descriptions, and titles directly in the file properties or platform dashboard. Include keywords students might search for, such as "Python basics" or "Excel pivot tables." This helps internal search engines find your content quickly.
Final Pre-Publication Ritual
Before you click publish, do a full-screen run-through. Not in the editor preview, but in the actual player interface your students will see. Check the start time. Does the video begin abruptly? Add a brief intro card with the module title. Check the end. Does it fade to black instantly? Leave a few seconds of silence or an outro card to let the thought land.
Test interactive elements if your platform supports them. Do quizzes pop up correctly? Do resource links open in new tabs? Broken links are a top complaint in post-course surveys. Click every single link in your description and overlay buttons.
Finally, archive your project. Save the raw footage, project files, and graphics separately. If you need to update a statistic or fix a typo six months later, you won’t want to re-record the whole thing. Organized archives save future-you from unnecessary stress.
What is the best video format for online courses?
MP4 with H.264 codec is the universal standard. It offers the best balance of quality and compatibility across almost all devices and browsers. While newer codecs like HEVC (H.265) offer better compression, they sometimes face compatibility issues on older hardware.
How loud should my course video audio be?
Target an integrated loudness of -14 LUFS with a true peak no higher than -3 dBTP. This aligns with streaming standards and prevents your video from being too quiet or excessively loud compared to other content on the platform.
Do I need 4K resolution for my course videos?
Not necessarily. 1080p is sufficient for most educational content, especially if it involves talking heads or simple slides. 4K is only needed if you show fine details like intricate code syntax or physical product demonstrations. Remember, larger files take longer to buffer for students.
Why are my captions out of sync?
This often happens due to variable frame rates in the source footage. Ensure your project timeline matches your camera's frame rate (e.g., 24, 30, or 60 fps). Re-exporting with a constant frame rate usually fixes synchronization issues.
Should I add music to my course videos?
Only if it enhances focus and doesn't distract. Background music should be very low volume (-20dB below speech) and instrumental. Lyrics or upbeat tracks can compete with your narration and increase cognitive load for learners.
Kim Edwards
September 18, 2026 AT 09:37OH MY GOD THE AUDIO PART IS SO TRUE IT HURTS MY SOUL
I spent three weeks editing a tutorial thinking my visuals were god-tier but I completely ignored the background hum of my fridge and students literally roasted me in the comments section like I committed a crime against humanity
It was devastating really just absolutely crushing to see people say they couldn't hear me over the noise so I had to re-record everything from scratch
This checklist is basically a lifeline for anyone who has ever felt that specific sting of shame when you realize your masterpiece is actually garbage because of technical issues nobody warned you about
I am shaking just remembering how close I came to quitting teaching entirely because of one bad audio track
Thank you for saving future creators from this emotional rollercoaster of despair
Bonnie Watt
September 18, 2026 AT 12:25You're all missing the point entirely.
Everyone obsesses over -14 LUFS and WCAG contrast ratios like it's some holy scripture but honestly if the content isn't engaging no amount of technical perfection will save a boring lecture.
I've seen crystal clear 4K videos with perfect audio that put me to sleep faster than a sedative because the instructor had zero charisma or energy.
Stop hiding behind checklists and start worrying about whether your personality translates through the screen because right now most course creators are just robots reading scripts with good compression settings.
The tech stuff is easy to fix with plugins and software updates but fixing a dull presenter requires actual human effort which seems too much for most people these days.
Meagan Mueller
September 19, 2026 AT 01:02they probably know what theyre doing with the audio levels but ignore the fact that platforms compress everything anyway so why bother with high bitrate files that just get destroyed by youtube or moodle algorithms i bet its all a scam to sell us better mics and cameras that we dont actually need since the final product looks the same after upload restrictions hit hard and fast
Kyle Ware
September 19, 2026 AT 05:20Great points on the platform compression. It’s worth noting that while LMSs do compress, starting with a higher quality source (like ProRes) before exporting to H.264 often yields better results than uploading a lower quality master file directly. The generation loss is minimized when you have a clean source to work with. Also, testing on mobile is crucial because many students watch on phones where small text becomes unreadable quickly.
Art HND
September 20, 2026 AT 20:48Wrong. You don't need prores. You need efficient encoding. Uploading huge files wastes time and bandwidth. Smart encoding beats big files every single time.
john randall
September 21, 2026 AT 11:33Agreed on the mobile testing part. I always export a 10 second clip and send it to my phone via email just to check the text size. If I can't read the code snippets on my iPhone screen then I know I need to increase the font size or zoom in more during recording. Saves a lot of headaches later on when students complain they can't see the details.
Jeff Falcon
September 22, 2026 AT 00:49Oh wow, this is such a comprehensive guide!!!
I really appreciate how you broke down the audio section because I always struggle with the loudness normalization part and never know if I'm hitting the right targets without professional tools.
The tip about checking captions manually instead of relying on AI is something I wish I had known years ago because auto-captions have embarrassed me so many times with technical terms being transcribed incorrectly.
Also, the reminder about end cards is super helpful because I often forget to include them and then wonder why engagement drops off at the very end of the video module.
Thanks for sharing this, it's going to help me organize my preflight process much better moving forward!!!
Alyson Karson
September 23, 2026 AT 01:34YES THIS!!
Audio is king!! I used to think 4k was necessary until i realized half my students were watching on data plans with spotty internet so 1080p was plenty!!
Do the checks!! Your future self will thank you!! Dont let bad audio ruin your vibe!!
Chris Neal
September 24, 2026 AT 20:59Actually, the standard for broadcast TV is different from online streaming. While -14 LUFS is common for YouTube, some educational platforms might normalize differently. You should check the specific guidelines of your LMS provider as some older systems still expect broadcast standards around -23 LUFS or even -24 LUFS depending on regional regulations. Blindly applying -14 LUFS everywhere can lead to inconsistent volume across different platforms if not managed correctly.
Iva Grekova
September 25, 2026 AT 23:34That's a really useful distinction! I hadn't considered that older LMS systems might have different legacy requirements. It definitely adds another layer to the preflight checklist. Thanks for pointing that out!
Jacob Baby Official
September 27, 2026 AT 20:32You are all delusional if you think this checklist saves you.
The real problem isn't audio levels or contrast ratios it is that modern attention spans are broken beyond repair due to TikTok brain rot so no matter how crisp your video is students will quit after 15 seconds anyway.
These technical fixes are just placebo effects for creators who refuse to accept that their pedagogy is fundamentally flawed and outdated in the age of micro-learning.
We are drowning in content but starving for wisdom and this article just polishes the surface of a sinking ship while ignoring the structural rot underneath.
Fix your teaching methods first then worry about your dBTP peaks because otherwise you are just decorating a corpse.
Chandan Singh
September 28, 2026 AT 13:26While dramatic, the assertion that pedagogy fails solely due to attention spans ignores the cognitive load theory mentioned in the post. Technical clarity reduces extraneous cognitive load allowing learners to focus on germane processing. Therefore, audio and visual quality are pedagogical tools not just aesthetic choices. Dismissing them undermines the learning experience for those with auditory processing disorders or visual impairments.
Brannen Hall
September 29, 2026 AT 21:20Meh. Good list. But frankly, if you need a checklist to make sure your video isn't terrible, maybe you shouldn't be making videos yet. Experience teaches you these things faster than reading articles. Just practice more and stop overthinking the technical specs.
Onyinyechi Nwosu
September 30, 2026 AT 13:16this is very helpful especially the part about testing on mobile devices i often forget that many students in my region rely on smaller screens and slower connections so keeping the file size optimized while maintaining readability is key for accessibility here too
Brandon Olvera
October 1, 2026 AT 21:36America leads in edtech standards. This checklist reflects best practices from US institutions. Other countries should adopt these strict protocols to ensure global competitiveness in online education. Stick to the American standards for maximum compatibility and professionalism.