Voice-Over Acting Course: From Home Studio to Professional Demos
 Sep, 26 2026
You’ve got the voice. Maybe it’s deep and authoritative, maybe it’s bright and friendly, or perhaps you have that rare, gritty texture that makes people lean in. But here is the hard truth: having a nice voice doesn’t mean you can book jobs. The gap between "I sound good" and "I am getting paid" is filled with technical skills, marketing strategy, and a polished product called a demo reel.
This guide breaks down exactly how a modern voice-over acting course bridges that gap. We aren't just talking about reading scripts aloud. We are talking about building a business from your spare room. Whether you are looking to pivot careers or add a side income, understanding the pipeline from recording booth to client inbox is critical. Let’s look at what actually works in 2026.
Why You Need Structured Training, Not Just Talent
A lot of beginners think they can skip training because they are "natural readers." They buy a microphone, record a few lines, upload them to a platform like Voices.com, and wait. Silence. Why? Because clients don't hire for potential; they hire for reliability and specific direction.
A proper voice-over acting course teaches you three things self-taught hobbyists usually miss:
- Directing yourself: In a professional session, the director might be busy or non-existent. You need to know how to interpret a script without external feedback.
- Technical hygiene: A bad edit sounds amateurish faster than a bad performance. Clients hear clicks, pops, and room echo immediately.
- Niche positioning: Trying to be everything to everyone means you are nothing to anyone. Do you do corporate narration? Character animation? E-learning?
Think of your voice as an instrument. You wouldn't play a concert on a violin you bought yesterday without lessons. Your vocal cords are no different. Training refines your control, breath support, and emotional range.
Building Your Home Studio on a Budget
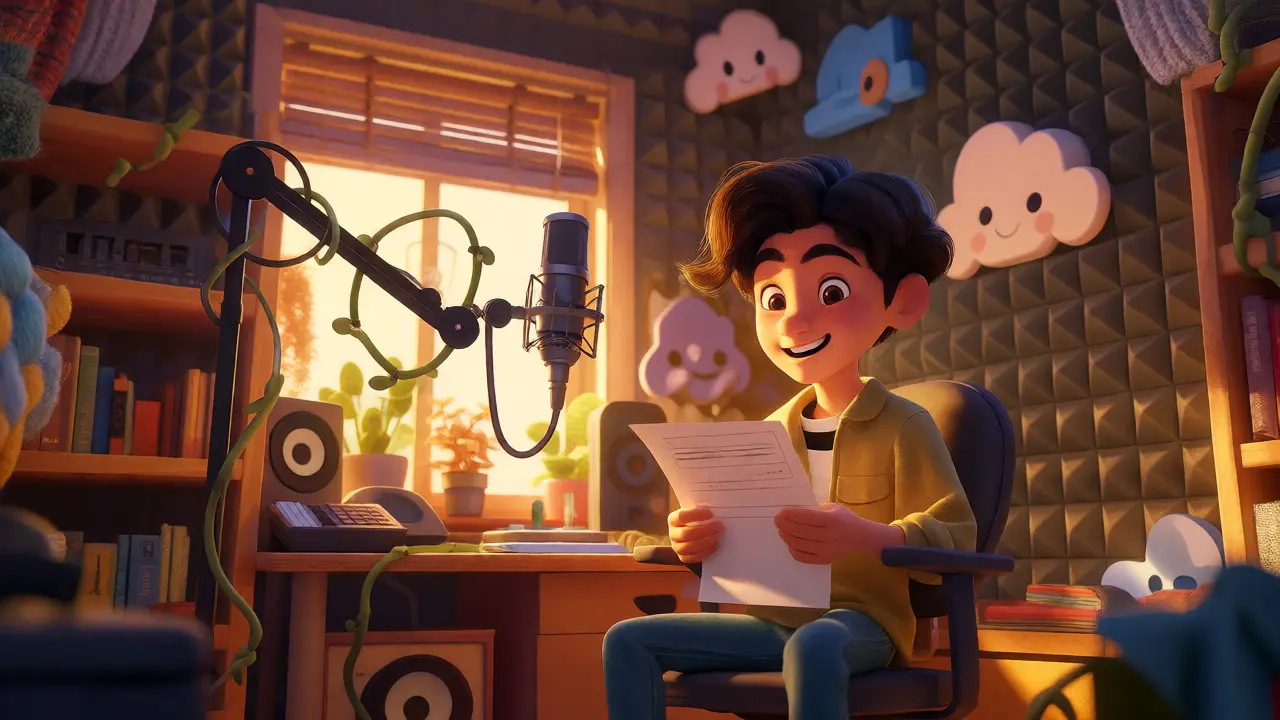
The biggest barrier to entry used to be real estate. You needed a soundproofed commercial booth. Today, technology has democratized this. You can build a broadcast-quality home studio for under $1,500 if you are smart about it. But "smart" doesn't mean buying the most expensive gear. It means fixing your environment first.
Your room is your biggest enemy. If you record in a square bedroom with bare walls, your recording will sound boxy and hollow. This is called standing wave resonance. Before you spend a dime on microphones, treat your space.
| Component | Starter Tier (Under $500) | Prosumer Tier ($500 - $1,500) | Notes |
|---|---|---|---|
| Microphone | Audio-Technica AT2020 (Condenser) | Rode NT1-A or Shure SM7B (Dynamic) | Condensers pick up more detail but also more noise. Dynamics are forgiving in untreated rooms. |
| Interface | Focusrite Scarlett Solo | Universal Audio Volt 2 | Ensure low-latency monitoring so you don't hear delay while speaking. |
| Acoustics | DIY Blankets & Mattresses | Auralex Foam Panels & Bass Traps | Treat corners first for bass buildup. Cover reflection points behind and beside the mic. |
| Software (DAW) | Audacity (Free) | Reaper or Adobe Audition | Learn one DAW deeply. Reaper is highly customizable and cheap for commercial use. |
Notice the pattern? The Starter Tier gets you functional. The Prosumer Tier gets you competitive. But the acoustics line is where most people fail. If your room echoes, even a $3,000 microphone will sound like you are recording in a bathroom. Use heavy blankets, bookshelves filled with books, or dedicated foam panels to dampen reflections.
The Art of the Demo Reel
Once your studio is ready, you need a product. That product is your demo reel. This is a 60-second audio montage showcasing your best work. It is the single most important asset in your portfolio.
Here is where many newcomers mess up: they make one generic demo. "Commercial Voice Over." That is too vague. Casting directors search for specifics. You need targeted reels.
Types of Demos You Should Consider
- Corporate Narration: Calm, clear, trustworthy. Used for explainer videos and internal training. Think calm authority.
- E-Learning: Conversational, engaging, slightly faster pace. You are teaching, not selling. Needs high clarity.
- Animation/Character: High energy, distinct voices, comedic timing. Requires strong acting chops, not just a nice tone.
- Trailer/Announcer: Deep, resonant, dramatic. High demand, high competition. Requires precise pacing and breath control.
Do not mix these in one file. If a client wants a warm e-learning voice, they don't want to hear you screaming like a cartoon villain halfway through the clip. Keep them separate. Label them clearly: "Sarah_Jones_Corporate_60sec.mp3".
Production quality matters more than variety. Three excellent clips beat ten mediocre ones. Ensure levels are consistent across all clips. No sudden volume jumps. Use a limiter to keep peaks controlled, but avoid over-compressing, which kills dynamics.

Mastering the Technical Side: Editing and Processing
Recording is only half the job. Post-production is where you earn your fee. Clients expect clean, broadcast-ready files. This means removing breaths, mouth noises, and mistakes.
Most voice-over artists use a chain of effects known as "vocal processing." Here is the standard order:
- Cleanup: Manually cut out long pauses and loud breaths. Don't rely solely on plugins for this.
- EQ (Equalization): Cut the mud. Roll off frequencies below 80Hz to remove rumble. Boost presence around 3kHz-5kHz for clarity.
- Compression: Smooth out volume spikes. Set a ratio of 2:1 or 3:1. Aim for gentle gain reduction, not squashing.
- De-Esser: Tame harsh 'S' and 'T' sounds. Essential for close-mic recordings.
- Limiter: Final safety net to prevent clipping. Set ceiling to -1dBFS.
Watch tutorials on your specific Digital Audio Workstation (DAW). Learning shortcuts saves hours. For example, learning to split regions and fade edges quickly prevents clicking artifacts at edit points. Clicking sounds unprofessional instantly.
Finding Work: Platforms vs. Direct Clients
With your reel ready, where do you find gigs? There are two main paths: marketplaces and direct networking.
Marketplaces like Voices.com, Fiverr, and Upwork are great for beginners. You get access to thousands of projects. The downside? High competition and lower rates initially. You are bidding against global talent. To win, you need speed and responsiveness. Reply within minutes, not hours.
Direct Clients pay better. These are ad agencies, production houses, and corporate L&D departments. How do you reach them? Cold emailing and LinkedIn. Find producers who made videos similar to your niche. Send a short, personalized email with a link to your relevant demo. No attachments-links save their bandwidth and look cleaner.
Networking isn't just about asking for jobs. Join communities like the World-Voiceover forum or local SAG-AFTRA chapters if eligible. Relationships lead to referrals. One happy client often leads to five more.
Common Pitfalls to Avoid
Even after taking a voice-over acting course, students often stumble on these issues:
- Over-acting: Reading like a robot or shouting like a radio DJ from the 90s. Modern VO is conversational. Talk to one person, not a stadium.
- Ignoring Noise Floor: If your background hiss is audible, you need better pre-amps or quieter gear. Record silence for 10 seconds before each take to create a noise profile for cleanup.
- Bad File Naming: Sending "final_final_v2_take3.wav" confuses clients. Use "ClientName_Project_Date.wav".
- No Contract: Always have a basic agreement covering usage rights. Are they using your voice for a YouTube video or a national TV campaign? Prices differ wildly.
Next Steps for Aspiring Voice Artists
Starting is overwhelming, but breaking it down helps. First, assess your current setup. Can you record clean audio today? If not, fix the room. Second, define your niche. What kind of content do you enjoy listening to? Third, record a raw sample and listen critically. Does it sound professional?
If you need guidance, consider a structured program that offers feedback. Self-correction is slow. A coach can tell you in five minutes what would take you months to figure out alone. Look for courses that include live critique sessions, not just pre-recorded videos.
Remember, consistency beats intensity. Recording for 30 minutes daily yields better results than one marathon session per week. Your ear develops muscle memory. Keep practicing, keep editing, and keep submitting.
Do I need a degree to become a voice actor?
No, you do not need a university degree. Voice-over is a skill-based trade. While theater or communications degrees help with acting fundamentals, practical ability and technical proficiency matter more. Clients care about your demo reel and reliability, not your diploma.
How much does it cost to start a home voice-over studio?
You can start with approximately $500-$1,000. This covers a decent USB or XLR microphone, an audio interface, headphones, and basic acoustic treatment. You can use free software like Audacity initially. Investing in room treatment is often more impactful than upgrading the microphone early on.
What is the difference between a commercial and a character demo?
A commercial demo showcases natural, relatable tones suitable for advertising and corporate videos. It focuses on clarity and persuasion. A character demo highlights versatility, vocal range, and comedic timing, often involving distinct accents or animated styles. They require different acting approaches and should never be mixed in one reel.
Can I make a living doing voice-over from home?
Yes, many full-time voice actors work exclusively from home studios. However, it takes time to build a client base. Most artists start with part-time income while maintaining another job. Consistent marketing, high-quality demos, and reliable turnaround times are key to transitioning to full-time.
Which microphone is best for beginners?
The Rode NT1-A and Audio-Technica AT2020 are popular starter condensers due to their low noise and clarity. If your room is noisy or untreated, consider a dynamic microphone like the Shure SM7B or Samson Q2U, as they reject background noise better than condensers.
Bryce Imbriale
September 27, 2026 AT 18:13Stop overthinking the gear and start recording today
You dont need a $3k mic to get started you just need consistency and a quiet closet full of clothes which works better than most people think honestly
The market is flooded with perfectionists who never ship anything while the scrappy folks are booking gigs because they actually deliver files on time
Its about momentum not just equipment so grab that AT2020 or even a decent USB mic and hit record right now before you talk yourself out of it
Sean Eagen
September 28, 2026 AT 06:50This is basic moral duty for any artist. Talent without discipline is sin. Fix your room first.
SHANNON GRUBER
September 28, 2026 AT 21:59Generic fluff. Everyone knows treat the room. The table is useless because prices change weekly anyway.
You didn't even mention AI voice cloning stealing all the low-budget jobs which is the real elephant in the room nobody wants to address properly here.
Lazy analysis really.
Howard Hurd
September 29, 2026 AT 05:40Why is everyone ignoring the Shure SM7B hype? :D It's the standard for a reason guys!!
Dynamic mics are superior for untreated rooms period. No debate needed here. Just buy it and stop crying about echo.
Also why are we talking about Reaper? Audacity is fine if you aren't an idiot.
Charles Reah
September 30, 2026 AT 17:19Welcome to the community! It is wonderful to see such a comprehensive breakdown of the pipeline from home studio to professional demos.
I would like to gently suggest that beginners often overlook the importance of soft skills, such as client communication and understanding usage rights, which are just as critical as technical audio quality.
Please remember that every artist's journey is unique, and there is no single 'correct' path to success, only paths that work best for individual circumstances and goals.
Keep practicing, stay humble, and do not hesitate to reach out for mentorship when you feel stuck in your progress.
Prayagraj Medicose
October 1, 2026 AT 21:22They want us to spend money on courses but keep the good jobs for their buddies!!
Voice-over is rigged by big agencies who use AI to test our voices then steal them without paying royalties... I saw a documentary about this exact thing in India last year.
Don't trust the platforms they are harvesting data from every upload we make while pretending to help us grow.
Darlene Hopkins
October 2, 2026 AT 03:47It’s nice to see a guide that validates the emotional labor involved in self-directing. That part is so hard alone.
LoriBeth Blair
October 3, 2026 AT 20:43Actually, most beginners fail because they don't understand script analysis basics.
Reading aloud isn't acting. You need to know beats and objectives or you sound flat regardless of your mic price.
Simple fact.
Sherri Jones
October 4, 2026 AT 04:41Great resource! 🎙️ One tip I'd add is to always record 10 seconds of silence at the head and tail of your files for noise profiling 📝
Also, please double-check your file naming conventions before sending! Clients hate guessing what "final_v2.wav" actually contains 😅
Happy recording! ✨
Manoj Kumar
October 5, 2026 AT 14:07The assertion regarding cost efficiency is analytically flawed. Acoustic treatment costs are frequently underestimated in starter tiers.
Furthermore, the reliance on dynamic microphones for untreated rooms ignores the spectral coloration inherent to such devices, which may not suit high-fidelity corporate narration standards.
Data suggests that improper gain staging leads to irreversible digital clipping errors in 40% of novice submissions.
Kieran Mitchell
October 6, 2026 AT 15:33THIS IS THE MOST IMPORTANT POST OF THE YEAR!!! FINALLY someone says the truth!!!
We are being lied to by the gear manufacturers who want us to buy expensive cables instead of learning to act!!! IT'S AN OUTRAGE!!!
Every American voice actor should read this twice and share it with their union reps immediately!!! DO NOT LET THEM SILENCE US!!!
Hemali Jaiswal
October 7, 2026 AT 23:21This resonates deeply with my own journey. The transition from hobbyist to professional is less about the hardware and more about the mindset shift towards treating your voice as a business asset.
I particularly appreciate the emphasis on niche positioning; trying to be a jack-of-all-trades often results in a master of none in this competitive landscape.
Remember, your unique timbre is your signature-don't dilute it trying to mimic trends. Embrace the texture that makes you, you.
william mcstay
October 8, 2026 AT 20:23American production values still lead the world. If you can't match that polish, don't bother applying for domestic contracts.
Brad Walker
October 10, 2026 AT 10:09We are merely echoes of our past recordings...
The void listens to our breaths and judges our compression settings. Is it truly editing, or just sculpting silence?
One day, the waveform will flatten into nothingness, and we shall realize the reverb was life itself.